We’ll show you how to connect AirPods to Windows 11 devices. Before you proceed, it’s worth noting that low battery power can interrupt the connection process. So, ensure your AirPods (and charging case) have enough charge. Charge your AirPods’ battery level to at least 20%.
Put AirPods in Pairing Mode
Your AirPods must be in pairing mode to connect to Windows or other devices. Pairing mode disconnects the AirPods from other devices and makes them available for connection to a new device. This section highlights steps to make different AirPods models available for pairing.
Put AirPods (1st, 2nd, and 3rd generation) and AirPods Pro in Pairing Mode
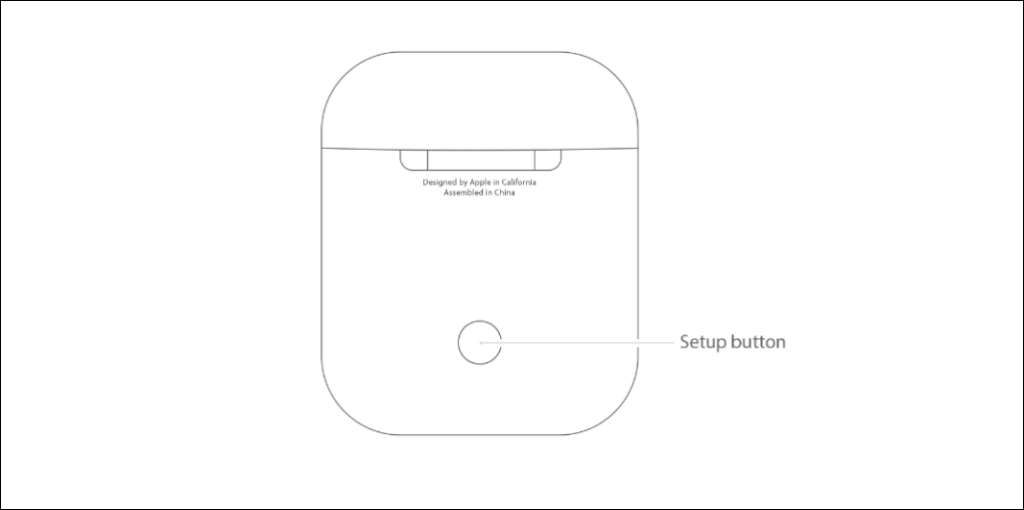
Insert the left and right AirPods in the charging case and open the lid. Press the Setup button at the back of the charging case for 3-5 seconds. Release the button when the status light on the front of the case flashes white.
Put AirPods Max in Pairing Mode
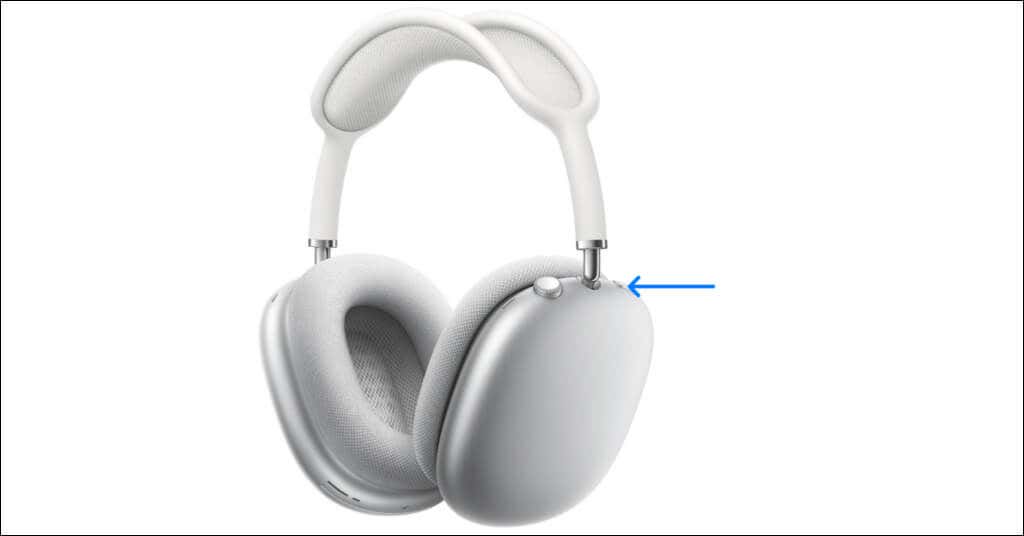
Press and hold the Noise Control button at the top of your AirPods Max’s right earcup. Release the button when the status light (below the right earcup) flashes white. That puts your AirPods Max in pairing mode for 30 seconds, meaning you have a 30-second window to connect the headphones to your computer.
Connect AirPods to Windows 11
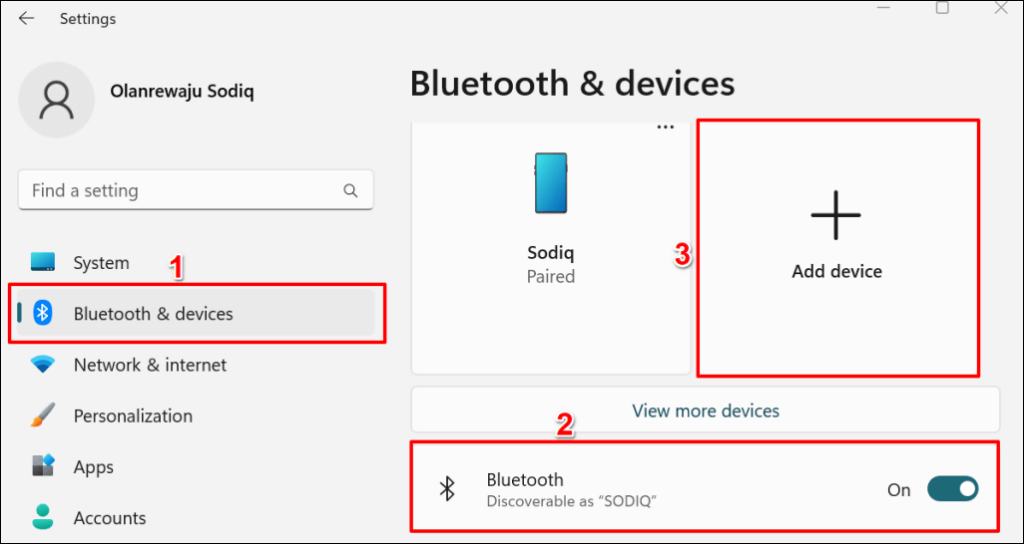
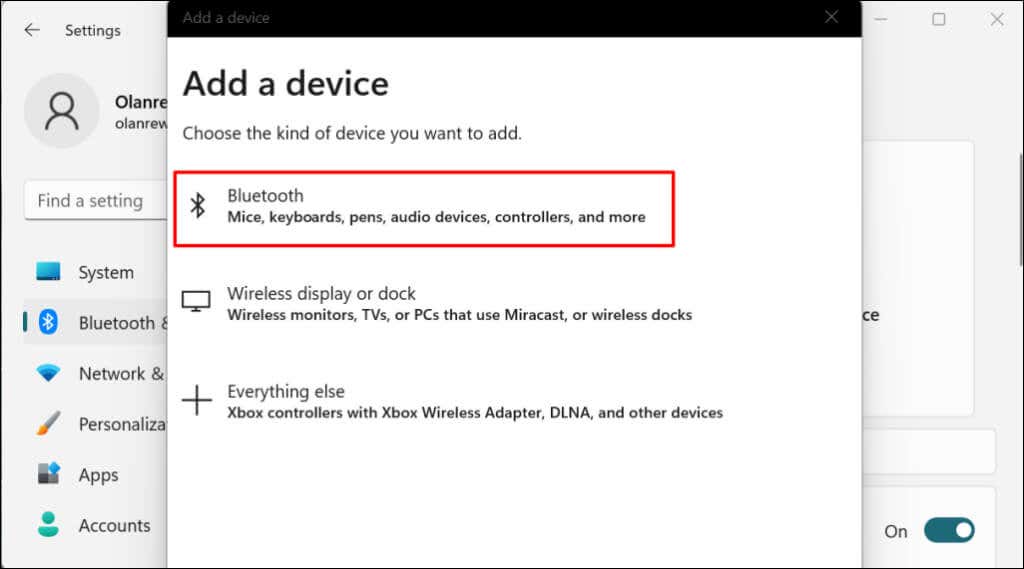
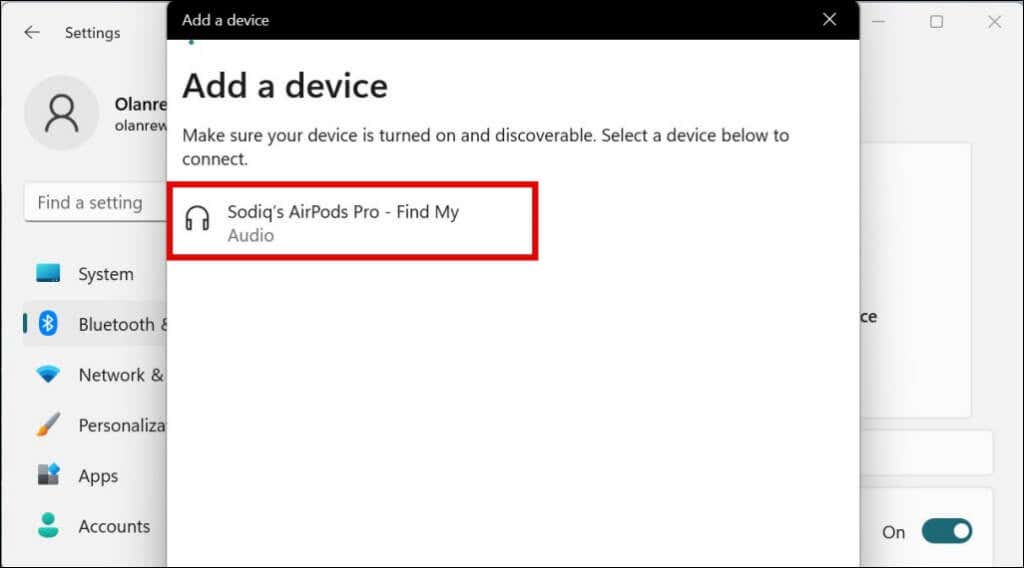
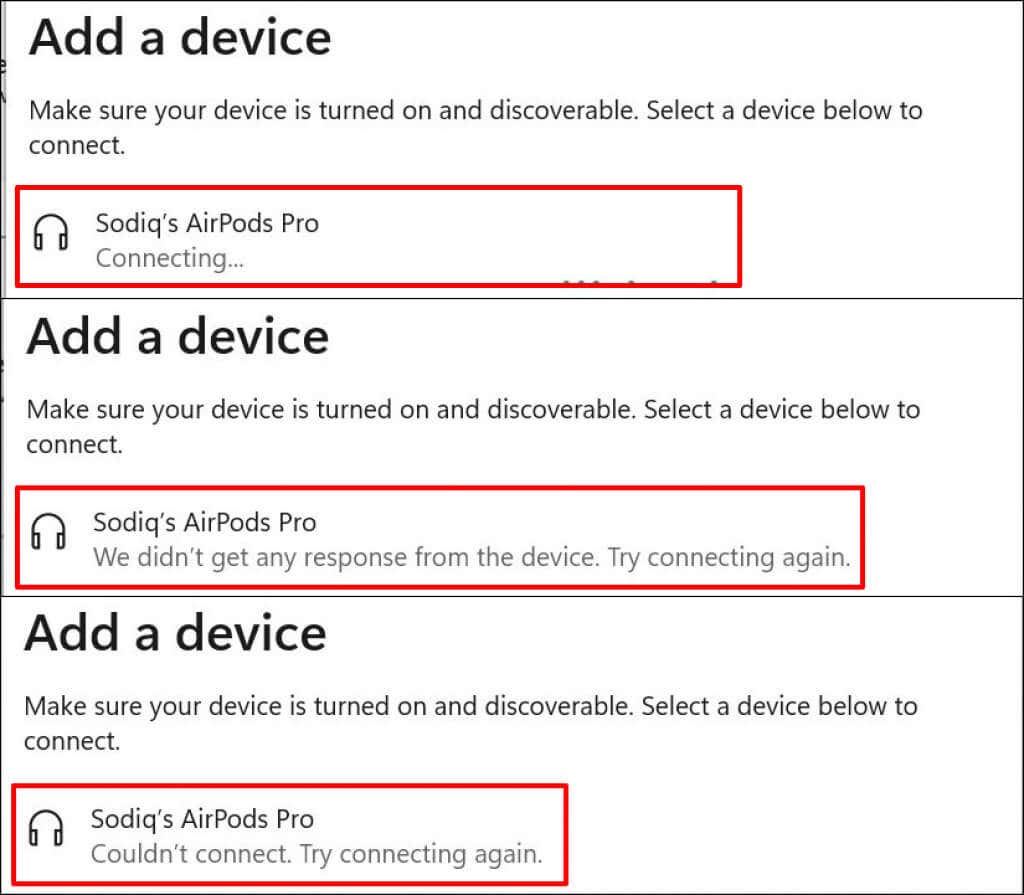
Head to the Windows 11 Bluetooth settings menu to connect AirPods to your computer. Windows will display either of the following error messages if your AirPods are no longer in pairing mode:
We didn’t get any response from the device. Try connecting again. Couldn’t connect. Try connecting again.
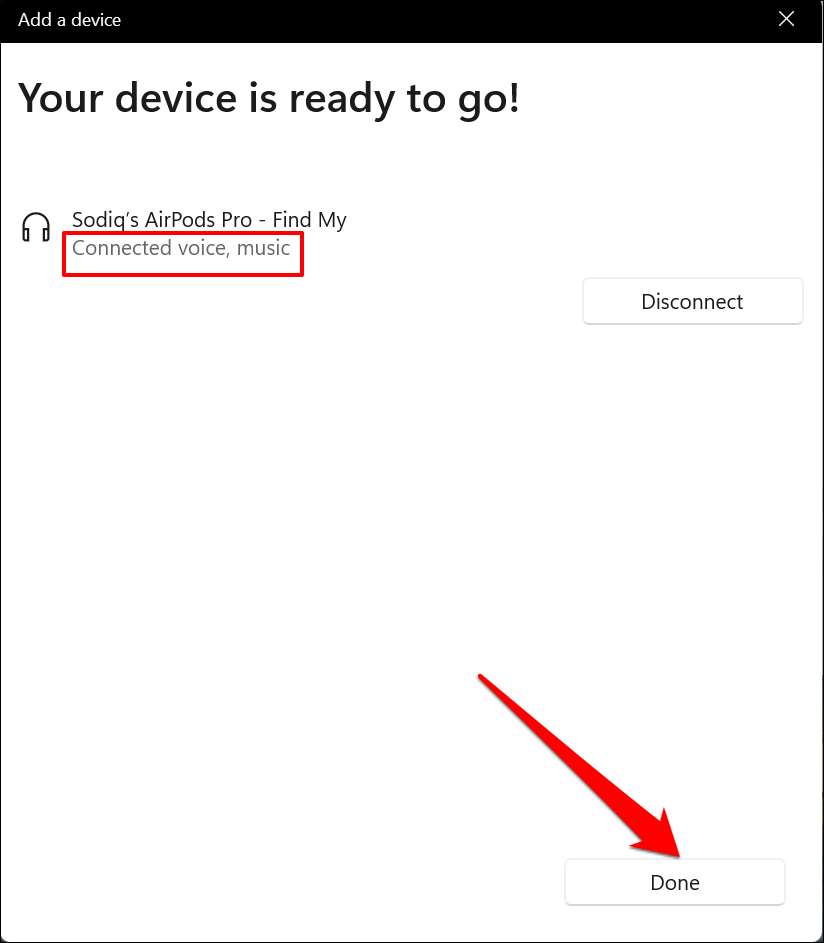
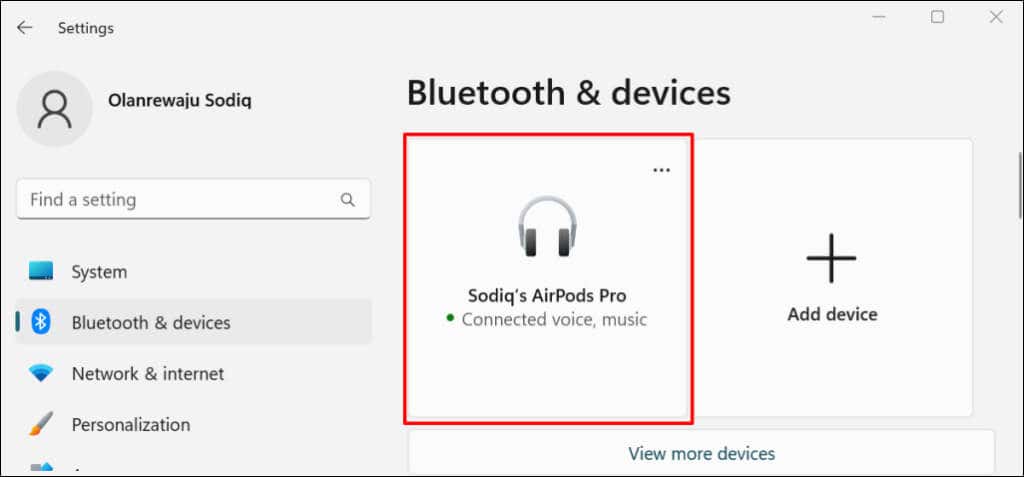
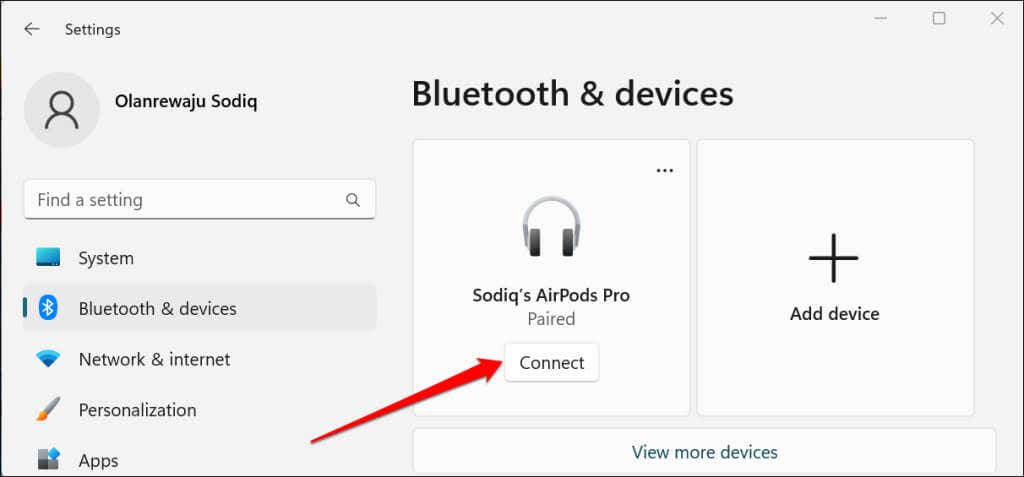
Close the “Add a device” window, put your AirPods in pairing mode again, and repeat steps #1 and #2. Remember to keep your AirPods case lid open—closing the lid can interrupt the pairing process. Windows doesn’t support all of the AirPods features available to Apple devices. For example, you can remotely switch AirPods between Noise Cancellation and Transparency mode when connected to a MacBook or iPhone. Features like Conversation Boost, Spatial Audio, and Optimized Battery Charging are also exclusive to Apple devices. You can only enable/disable Noise Cancellation or Transparency Mode in Windows using the AirPods’ physical noise control buttons. You only need to pair AirPods to your Windows PC once. Subsequent connections are a lot easier. Open Settings, go to Bluetooth & devices and select the Connect button below your AirPods.
Set AirPods as the Preferred Audio Device
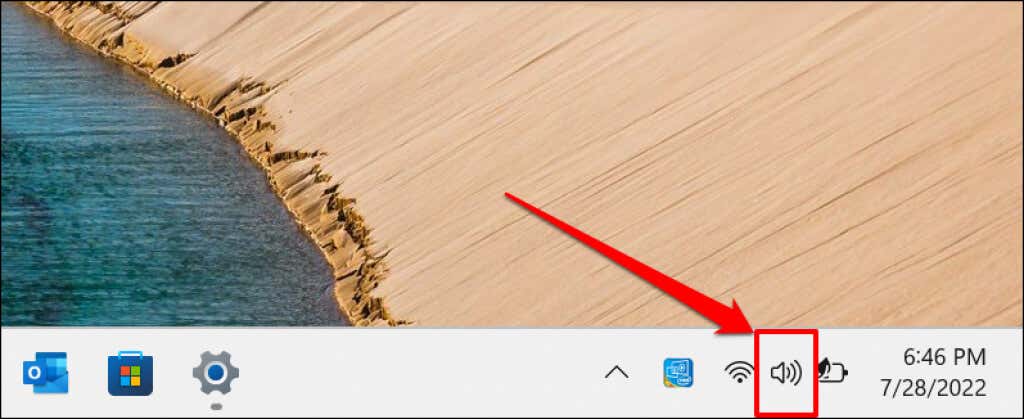
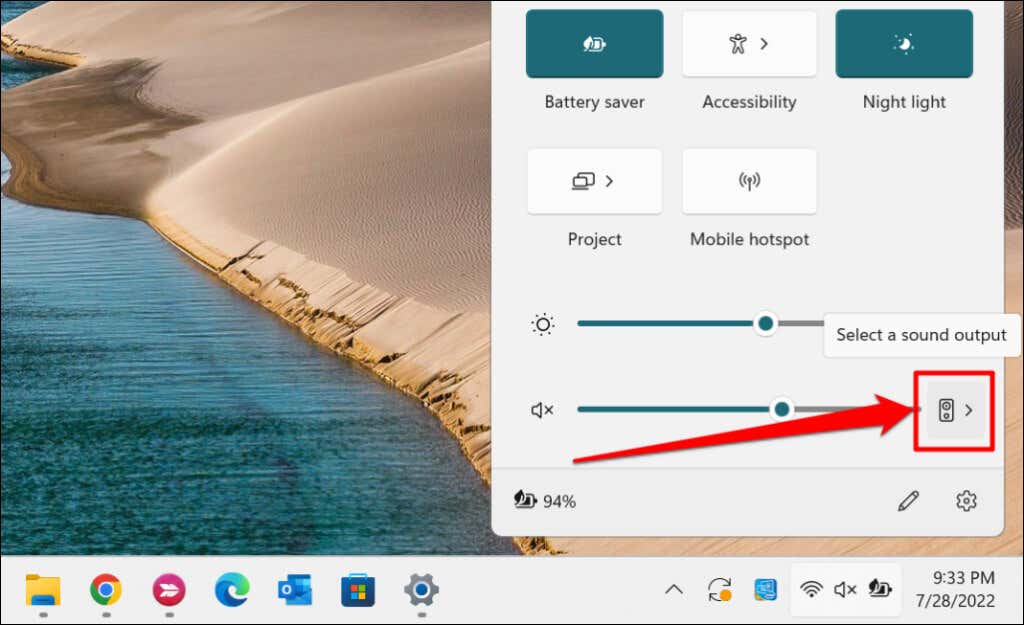
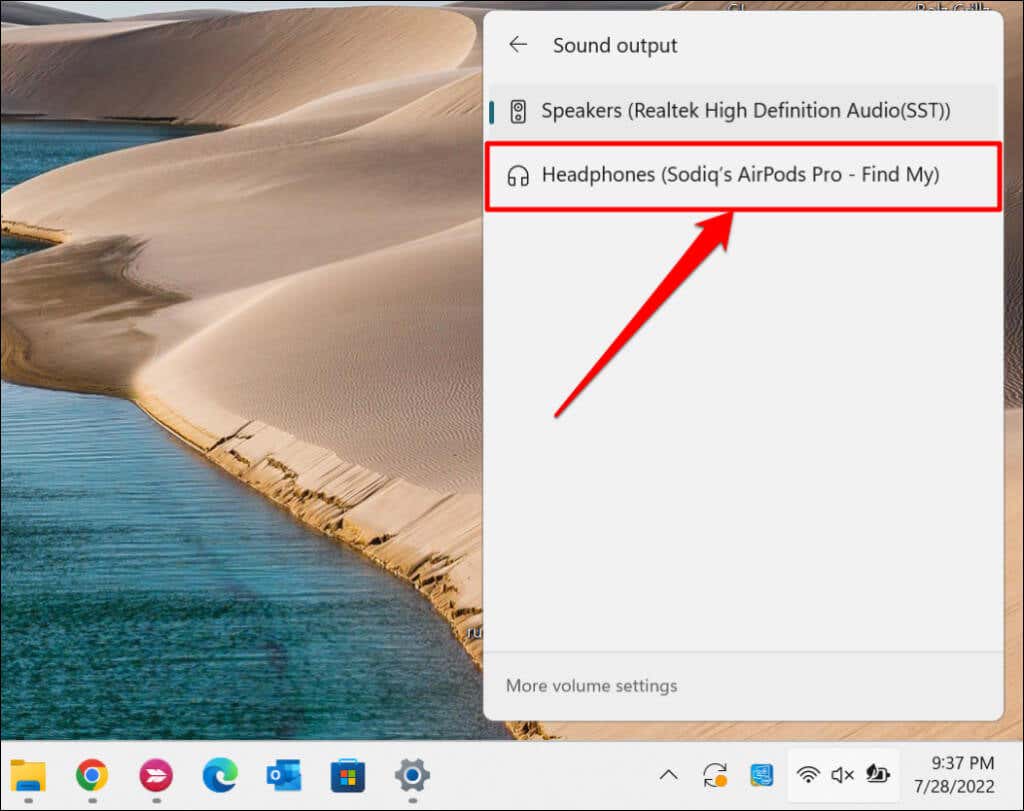
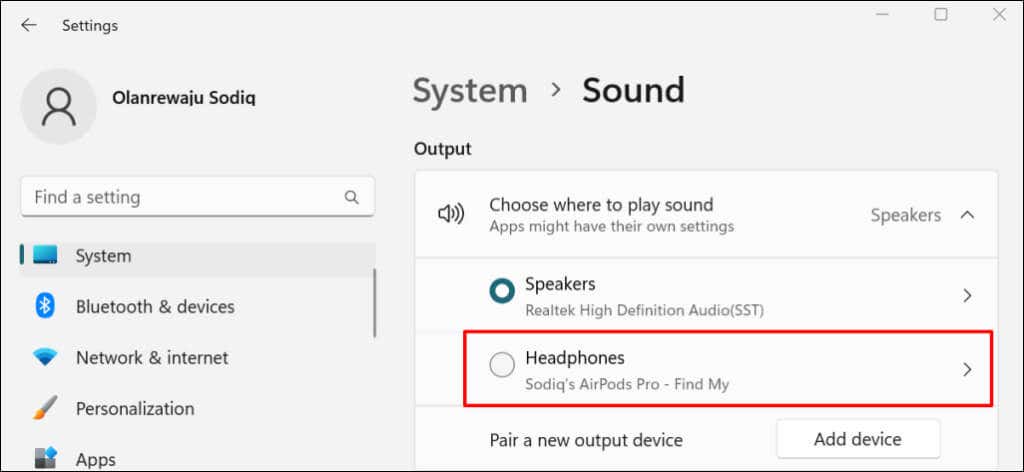
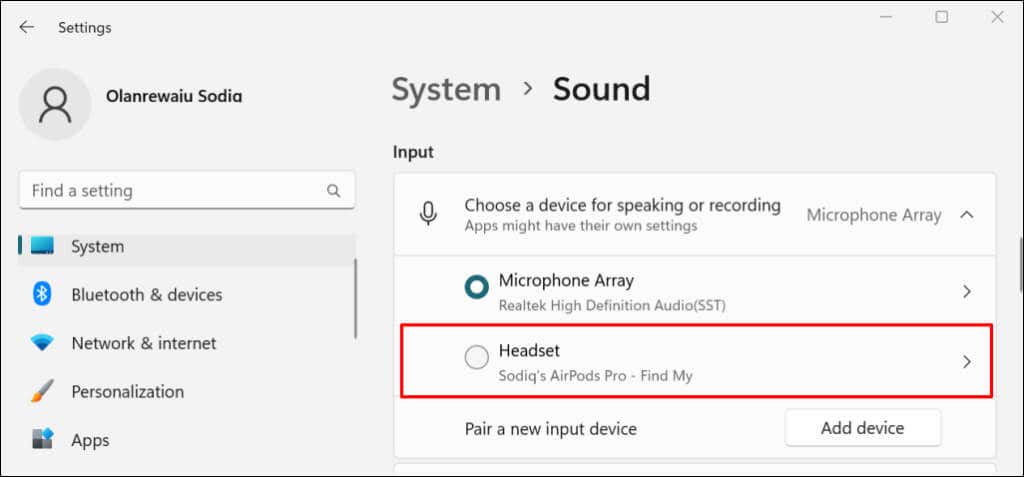
If your AirPods don’t play audio when connected to your Windows 11 PC, check that your computer’s volume isn’t muted. Press the Volume Up key on the keyboard to increase your PC/AirPods output volume. Next, verify that AirPods is the preferred audio device. Sometimes, Windows fails to correctly route audio output to your AirPods after pairing them to your computer. Alternatively, head to Settings > System > Sound > Output and select your AirPods in the “Choose where to play sound” drop-down menu. Scroll to the “Input” section and make your AirPods the device for speaking or recording.
Disconnect or Unpair AirPods in Windows 11
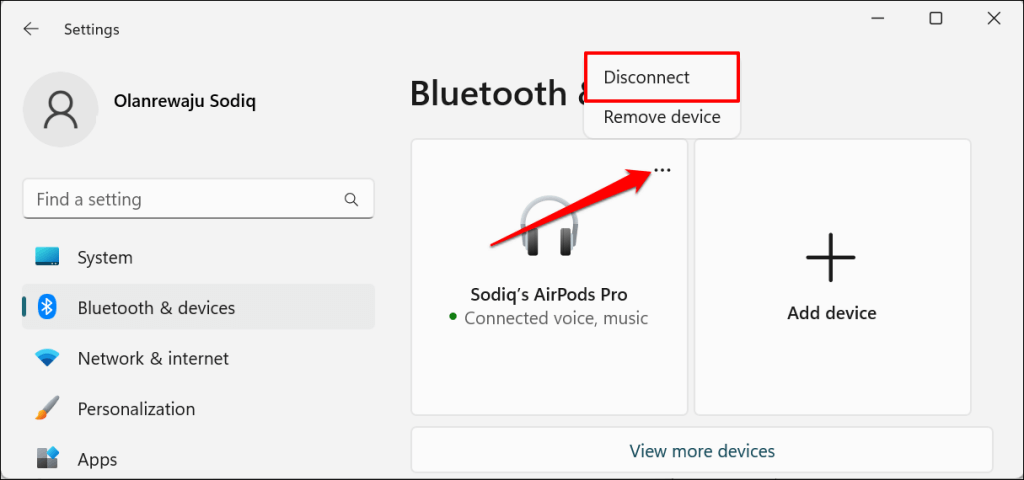
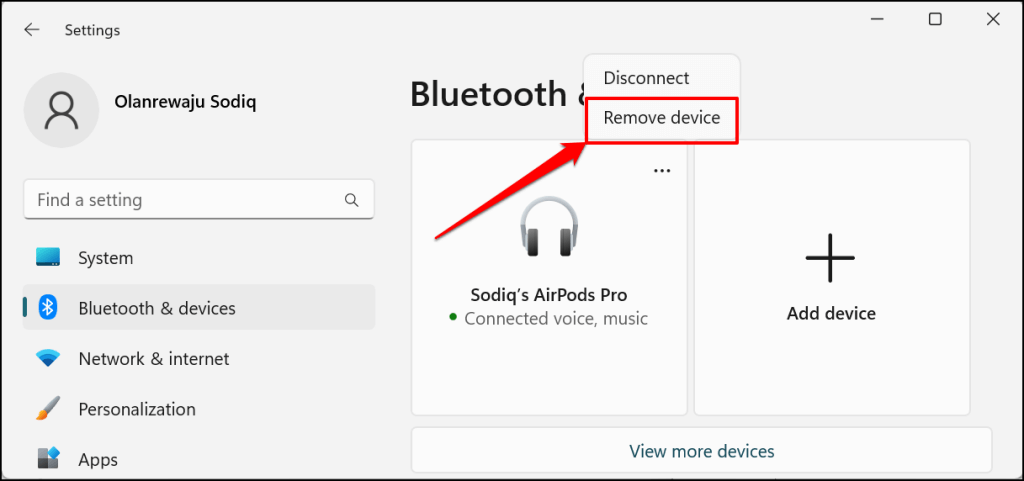
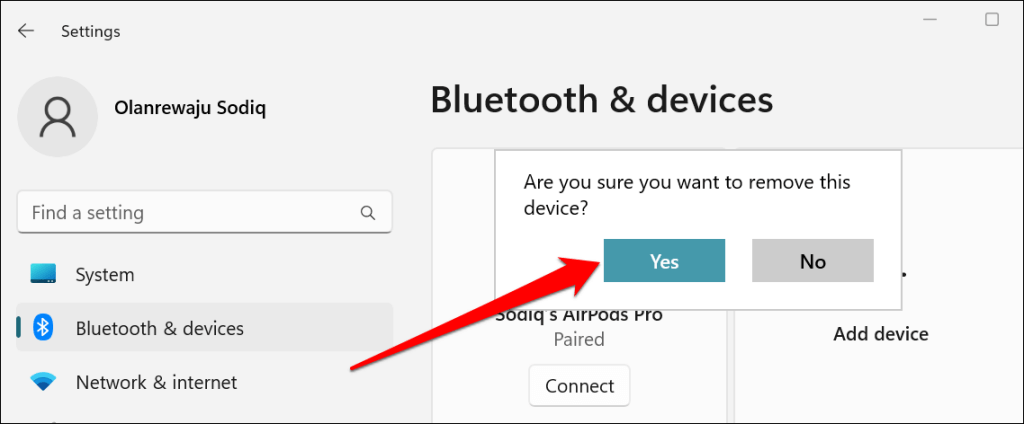
AirPods automatically disconnect from your PC when placed in the charging case. AirPods Max disconnects when stationary for 5 minutes or when placed in the Smart Case. You can also manually disconnect the headphones via the Windows Settings menu.
AirPods Not Connecting to Windows 11? Try These Fixes
Updating your AirPods firmware and rebooting your computer might also resolve the problem. For more troubleshooting fixes, refer to our tutorial on fixing AirPods connectivity problems on Windows devices.
